Ways to support the Podcast and Black Women Stitch
Make a one-time donation here at our Act Blue site
Sustained financial support also appreciated here: For as little as $2 a month, you can join our Patreon
FREE SUPPORT Is also appreciated. Please rate, review, subscribe to the podcast. Tell a friend to do the same!
Supplies needed
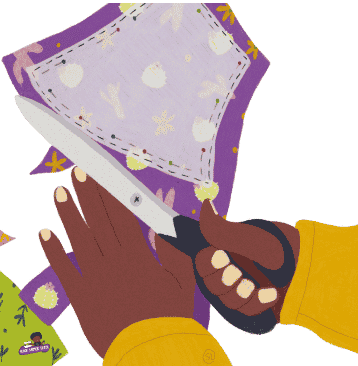
Pattern Discussed: SJSA "Crown" by Latifah Saafir
Fusible Web: wonder under, heat and bond, steam a seam
Parchment paper
Iron
Pencil
Scissors
Sign up for the Black Women Stitch quarterly newsletter
Check out our merch here
Leave a BACKSTITCH message and tell us about your favorite episode.
Join the Black Women Stitch Patreon
Check out our Amazon Store
Stay Connected:
YouTube: Black Women Stitch
Instagram: Black Women Stitch
Facebook: Stitch Please Podcast