Support the Stitch Please podcast and Black Women Stitch
$15 to the Paypal account for a Black Women Stitch lapel pin! DM or email your mailing to address for free shipping. You can also pay with Cash App
For longer term support, join our Patreon for exclusive content, such as the video of this interview and many more fun things.
Products mentioned in this episode
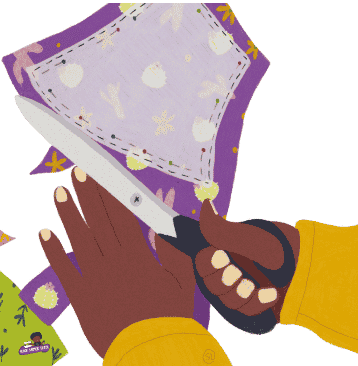
Simflex Expanding Sewing Gauge
Sign up for the Black Women Stitch quarterly newsletter
Check out our merch here
Leave a BACKSTITCH message and tell us about your favorite episode.
Join the Black Women Stitch Patreon
Check out our Amazon Store
Stay Connected:
YouTube: Black Women Stitch
Instagram: Black Women Stitch
Facebook: Stitch Please Podcast